while pregnant with my second boy, my husband and i attended a REAL salt lake soccer game. while there i noticed a cute lady nursing her baby with a really cool nursing cover. this unique cover had a stiff top so that she could see her baby. it was lightweight, hip and convenient. it was also $35-50 -- something that i could easily make myself.
i am definitely a big time pro-breastfeeding gal but i also don't like my chubby belly or muffin top hanging out for all the world to see. a boob is no big deal but i'll be damned if anyone is catching a glimpse of my belly! it is also nice because unlike a blanket, the straps tighten as little hands try to rip if off.
i hope you enjoy the tutorial, please let me know if something is unclear. i am a very visual person so i tried to take alot of pictures.also if you are not a sewer or don't have the time, i make and sell nursing covers for $20.
you will need :
1 yard of cute fabric
1 16 inch piece of boning
2 metal d rings
thread
water soluble pen
step 1.
from your fabric cut:
--one rectangle 26x 38 inches ( for the main body) --one strip 4 1/4 inch wide by 38 inches long. then cut off 12 inches from that, leaving you with two strips . these will be your straps. sometimes if i feel like it i will make the straps out of a contrasting fabric.

step 2.
on the main body, fold over the short sides 1/2 inch. press and fold again. do the same for the long sides ( top and bottom). first, sew up the short sides,then the bottom. save the top edge for later so that you can thread your boning through.

step 3.
lets work on the straps shall we? ok ... take your shorter strap ( 12 inch) and press in half with right sides together. sew 1/4 inch away from raw edge. turn tube right side out. maneuver the seam so it's going down the middle as depicted in the photo below. press ,then top stitch both long edges.

now fold the shorter strap in half and slip it through the 2 d-rings. sew a line across the strap, right up next to the edge of the rings to keep them in their place.

step 4.
press the long strap in half ( with right sides together)and sew 1/4 inch away from raw edge. when you get about 3 inches from the bottom of the strap, start stitching inward curving like so...

this allows the d ring to fit around the strap properly without coming lose. in fact the more you pull,the tighter it becomes. trim the curved seam to 1/4 inch. turn fabric right side out and press the same way as you did the other strap ( with the seam in the middle). top stitch all the way around.
step 5.
it's time to go back to the main body. fold over the top edge 1/2 inch, press and fold over again, press . on the wrong side of the fabric ,at the top edge, mark 10 inches from each side with the water soluble marker. with the wrong side together pin the long strap to the mark on the left mark, lining up the center of the strap to the mark .do the same with the short strap on the mark to the right. make sure that the raw edge of the straps is tucked snugly into the future casing. ( enlarge the picture to see what i mean)

step 6.
sew a perpendicular line across the casing, where you drew your mark at the shorter strap. this keeps the boning in place. make sure that you back stitch.

step 7.
sew the top casing like you did on the previous 3 sides. thread your boning through the open end of the casing ( left side). making sure that the curve of the boning is facing outward. then at your other mark ( the left mark) sew another perpendicular line through the casing again, securing the boning between the straps.

step 8.
flip the straps up now and top stitch around the whole top of the casing. don't worry about sewing on the boning, it is sewable.

step 9.
thread longer strap through both d-rings, then back though one.slip ever your neck and adjust as needed.
tada! enjoy your nursing cover you can even embellish it to your liking. i have done some with rick rack and a pocket on the outside. you can also do a pocket on either of the inner corner, made of terry cloth , to use as a burp cloth.


 print out headband shape. tape the two smaller ends together
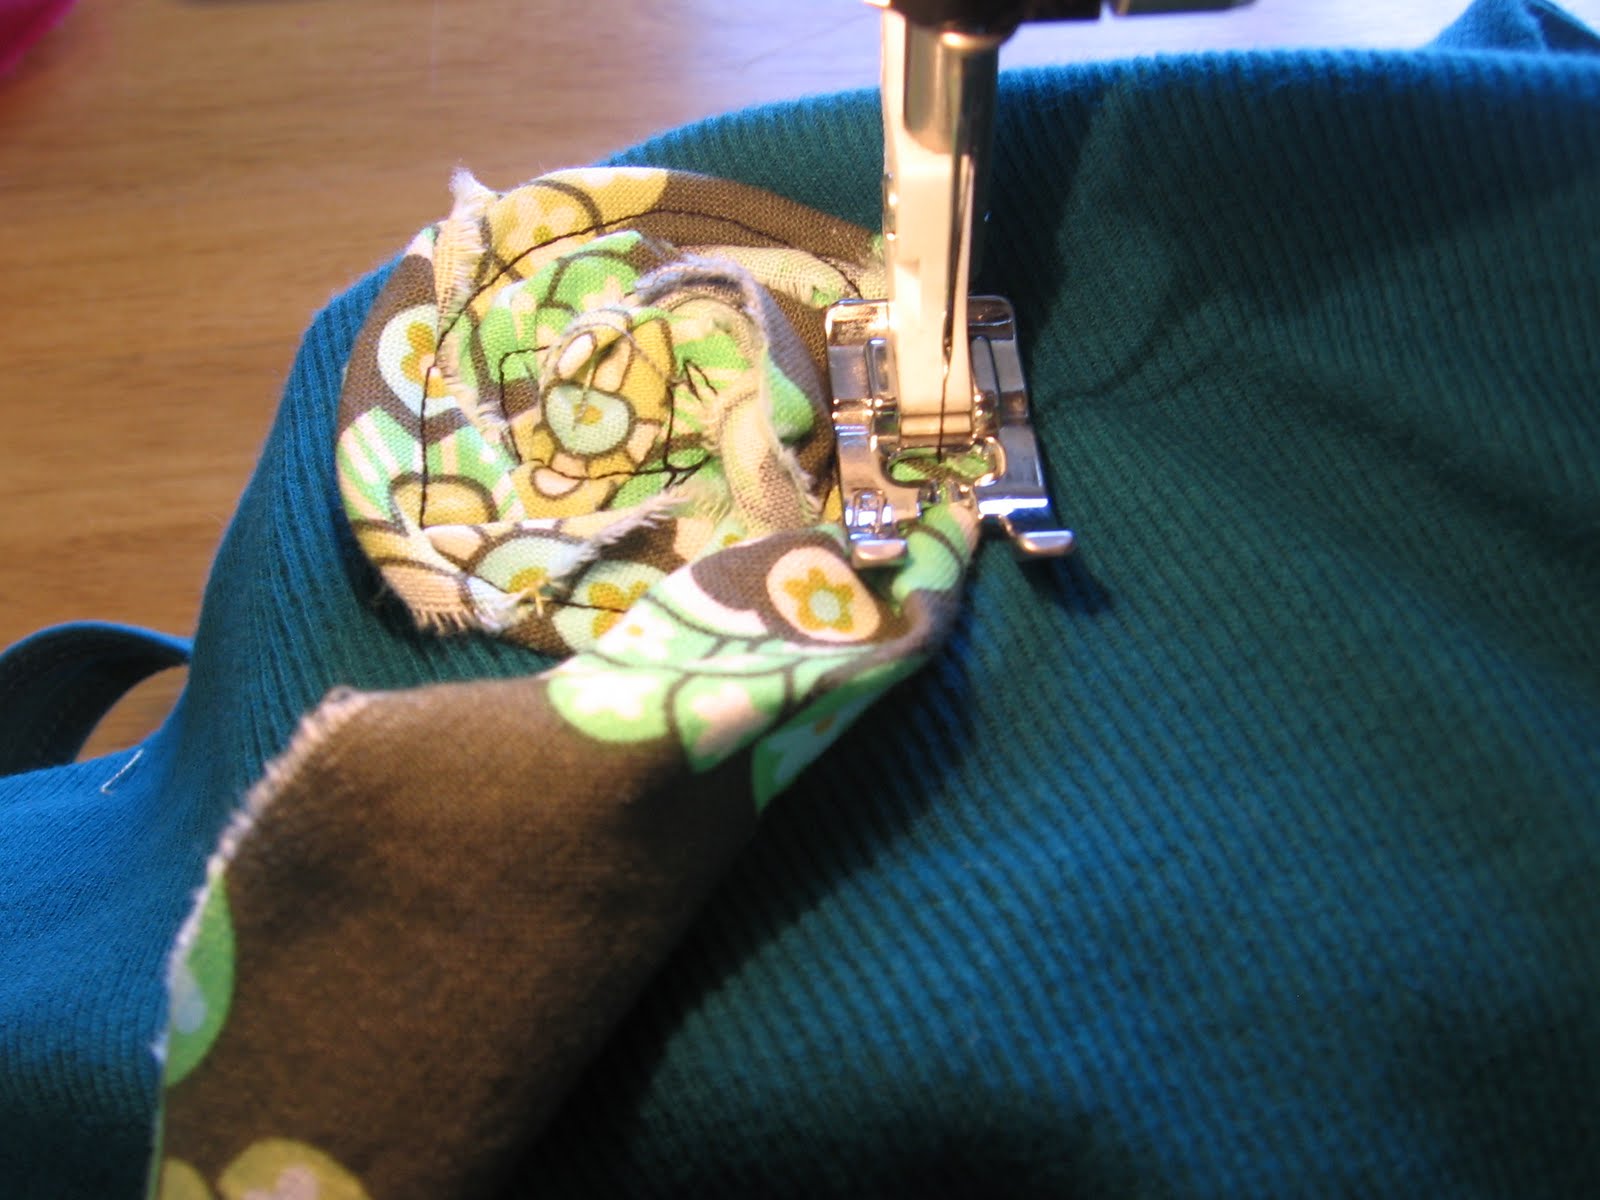
 place wide end of the strip on the folded edge of the fabric. trace with disappearing ink. sew a top stitch 1/4 inch away from raw edge all the way around the headband. trace leaves onto contrasting fabric. iron the leaves where you want them ( if you want you can fuse wonder under to the leaf fabric before you cut them out, or if you are lazy like me just ironing them into place will do.) sew around edge of leaves. now make some rolled roses


